SO IT BEGINS · 19 MARCH 2011
I figured I had enough base material to start lighting a real shot and tweak surfacing from there to see what I have. My renders are not too slow except for the background which takes quite a long time with all of the area light shadows. I'm not quite sure it's worth it or not. The big hiccup was the fur. I was using the volume method with mental ray and ray traced shadows which seemed to be fine for my stills. However, maya kept crashing and locking up. I had to go back and do some research. Couldn't figure out if it was because I installed 2010 or what. Eventually I did some maya software tests which looked good but had the jagged matte edge problem. Went back to mental ray and got it sorted out with detailed shadow maps at 6k with 6 samples to avoid flickering. Also had to import my references for the furred teddy bear since it was causing a five minute slowdown between frames in batch render mode, even if the fur was off. The fur actually renders very quickly once it gets going. Just getting through the initial setup was painful with all of the crashing. Seemed a little unstable. Took me a week of working at night after crunch time hours to get to a render which I can determine where to go from here. After going through all of that, I am considering buying a new computer. Seems like I just go this one which has been great for animation actually. However, even doing 640x360 test renders can take some time and doesn't give you that great of an idea of how the final will look in terms of surface quality. I notice a big difference in the characters when going from that res to 720p. I bought this computer in Sep2006 and while it's great for general working, when I get to rendering shots and elements, it could be a very slow process. My main concern is upgrading ram or getting a new version of AfterFx since it only runs on 64bit OS now.
LET THERE BE LIGHT ICONS · 13 MARCH 2011
Finally started lighitng a real shot. Right now it's just a still, but I have added a new icon to the shots page for the very first lighting page! A lot of problems to be worked out, but it's good to move forward on this. Since this is really a retro post, most of what I want to say about this stage is above. click icon to view stage
LIGHT IT UP · 6 MARCH 2011
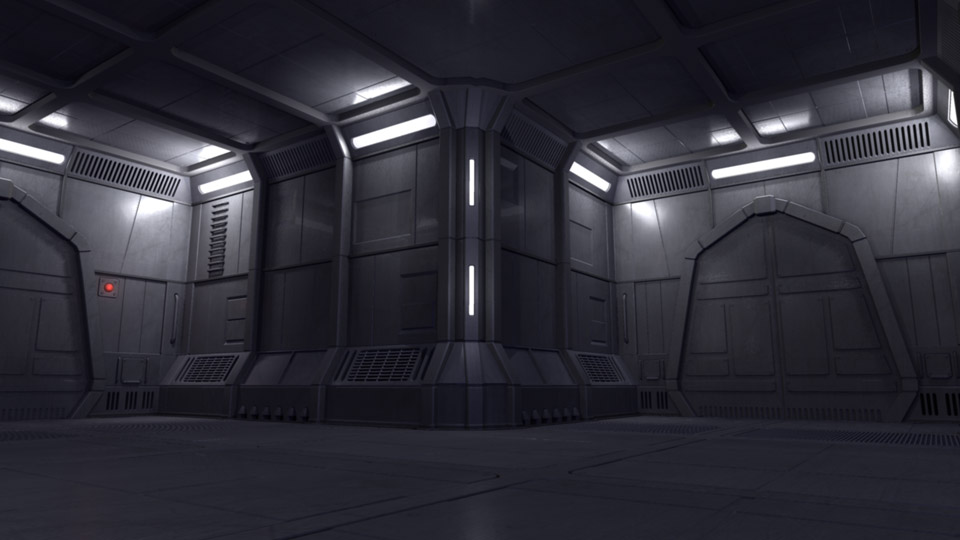
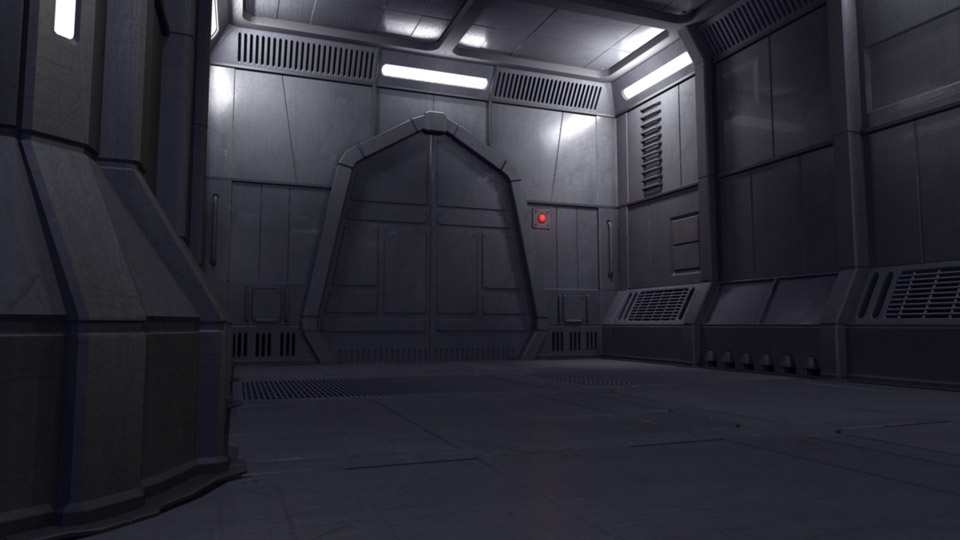
Actually, lighting and surfacing. Started working on the surface and textures for the the hallway set which is always a big unknown for me. Before, it was just flat color with basic lights. I'm trying to get some nice pools of light and have the walls not look so boring. I was actually pretty happy with the old render, but now that I have some surface properties in and some metal like textures, the hallway is looking a little more interesting. I switched to area lights and volume lights which I knew would be slower to render shadows, but I do like the effect they have. Still will be a shot by shot basis, but this is a pretty good start.
I also put the button in. It's a little tacked on, but hey, I need to move forward on this thing. Spent some time cleaning up the character rigs as well. Disovered that you can have mesh smooth built into the meshes instead of assigning a polysmooth. This works soooo much better then what I was doing and is almost identical to how they behave in Lightwave, the program they were built in. It even looks nicer in the the display for wireframe and just shows the curves instead of each face. The big advantage is being able to adjust uvs without destroying the smoothing. That wasn't a big problem with the alien, but the robot has so many peices, each time I had to adjust a uv, I'd have to delete and reapply the smoothing, as well as hook it back up to the vis controller. Quite a pain.
I am inching my way closer to being able to render a real shot. Not quite sure this will be the "look" that I invisioned when I started this project so long ago, but at this point, I really need to just move it forward so I will have something to actually adjust and mold into that "look." |
 |
|||||||